Fairy Martin

Studio notes · Brisbane, October 2026

How a tile
gets worked out.

One printed ceramic tile, revised in the open. Each note records what we tried, what it taught us and why the next revision changed.

Every image here is a digital render or diagram from our own models, with nominal dimensions. These revisions themselves have not been printed. Our first sample pieces are now printed in clay and being fired, and their photos and films will appear below.

What the models taught us so far

  1. r07

    Print it standing on its end.

    Every layer is then the full closed section, so nothing overhangs and nothing needs support.

  2. r07

    Relief along the length is limited.

    Each 2 mm layer can step out only about 1 mm from the one below. Relief across the height is free, because it lives inside one layer.

  3. r02

    One closed loop per layer.

    Start from how the printer moves: a single unbroken path around the front, ends and back, with nothing spanning the hollow inside.

  4. r04–r10

    The fixing is its own design.

    How the planks hang on a wall is developed alongside the tile. Those studies are shared with project teams under a confidentiality agreement.

The revisions,
newest first.

Studies of the tile itself. Dates are as recorded in each model’s notes. Our fixing studies are shared with project teams under NDA.

  1. A hollow plank that prints on its end

    A reference photo of a hollow ceramic plank gave us a section: a flat-backed box, 300 × 150 mm, with our own wave, chevron and ripple fronts. Standing on one end, every 2 mm layer is the full closed section, so nothing overhangs and nothing needs support.

    It also showed the method’s limit. Relief that changes along the length can step only about 1 mm per layer, which is why the ripple stays gentle; relief across the height is free.
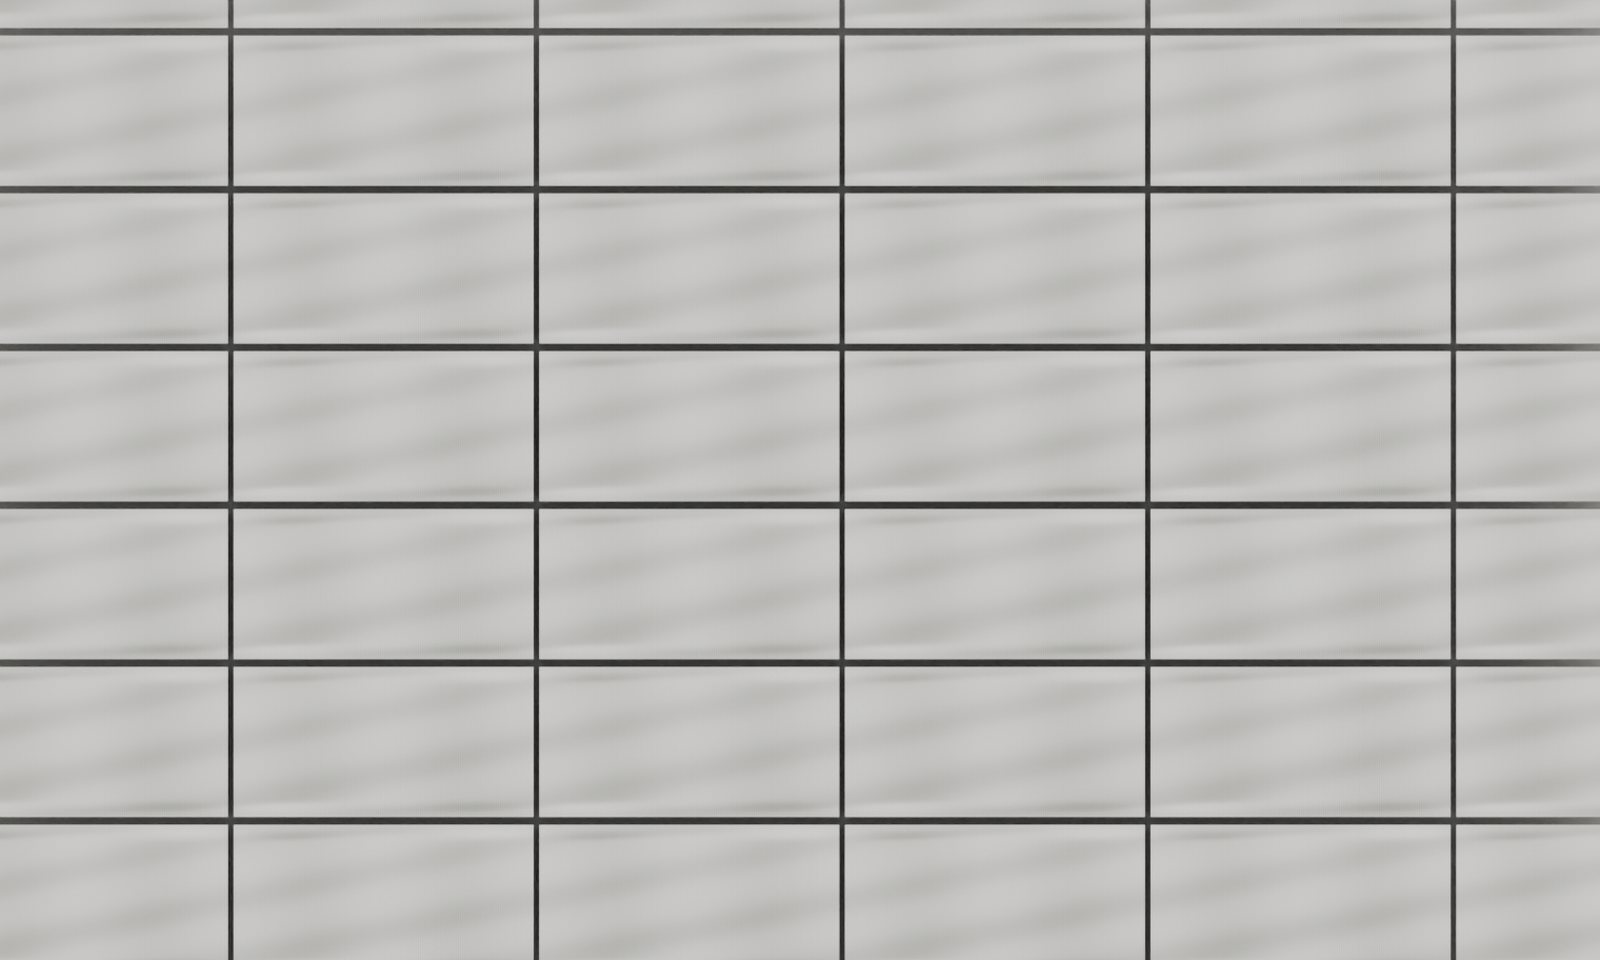
    Front view of white wave-relief ceramic planks in stack bond, lit from the side so the shallow relief reads as soft diagonal bands
    Digital render · wave planks in stack bond
  2. One system, many patterns

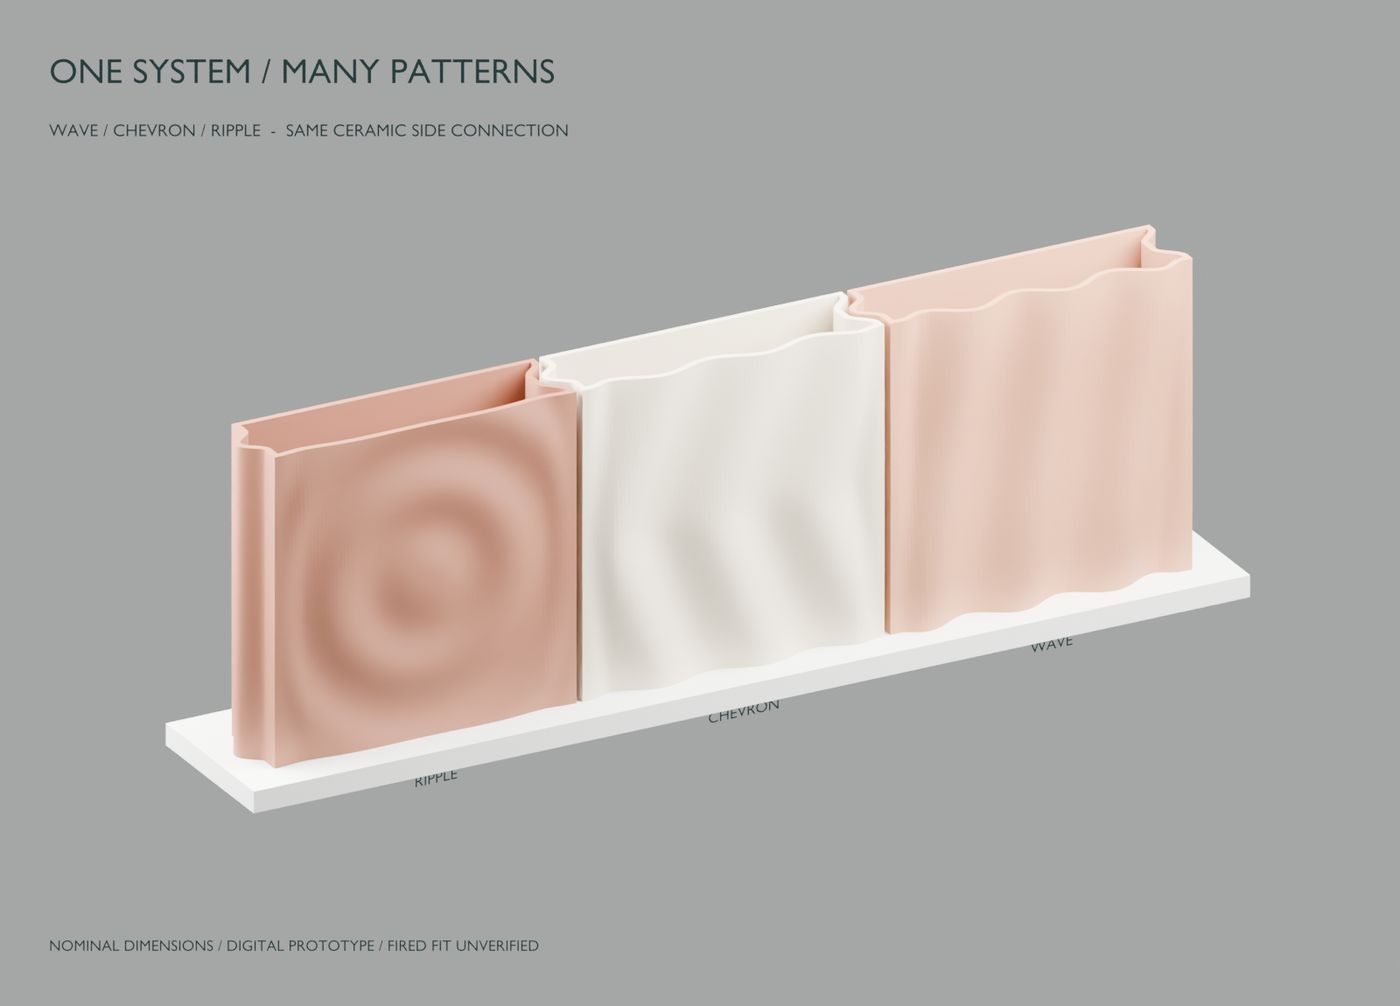
    r03 turned the hollow tile into a reusable generator. Wave, chevron and ripple fronts share the same rounded tongue-and-recess side edges, so different patterns can sit side by side. The generator refuses geometry that breaks its rules, including a layer that reaches more than 1 mm beyond the one below, though those limits are digital study values, not measured clay settings.

    Three hollow tiles side by side on a base, with ripple, chevron and wave fronts joined by matching tongue-and-recess side edges
    Digital render · wave, chevron and ripple family
  3. Start from the layers

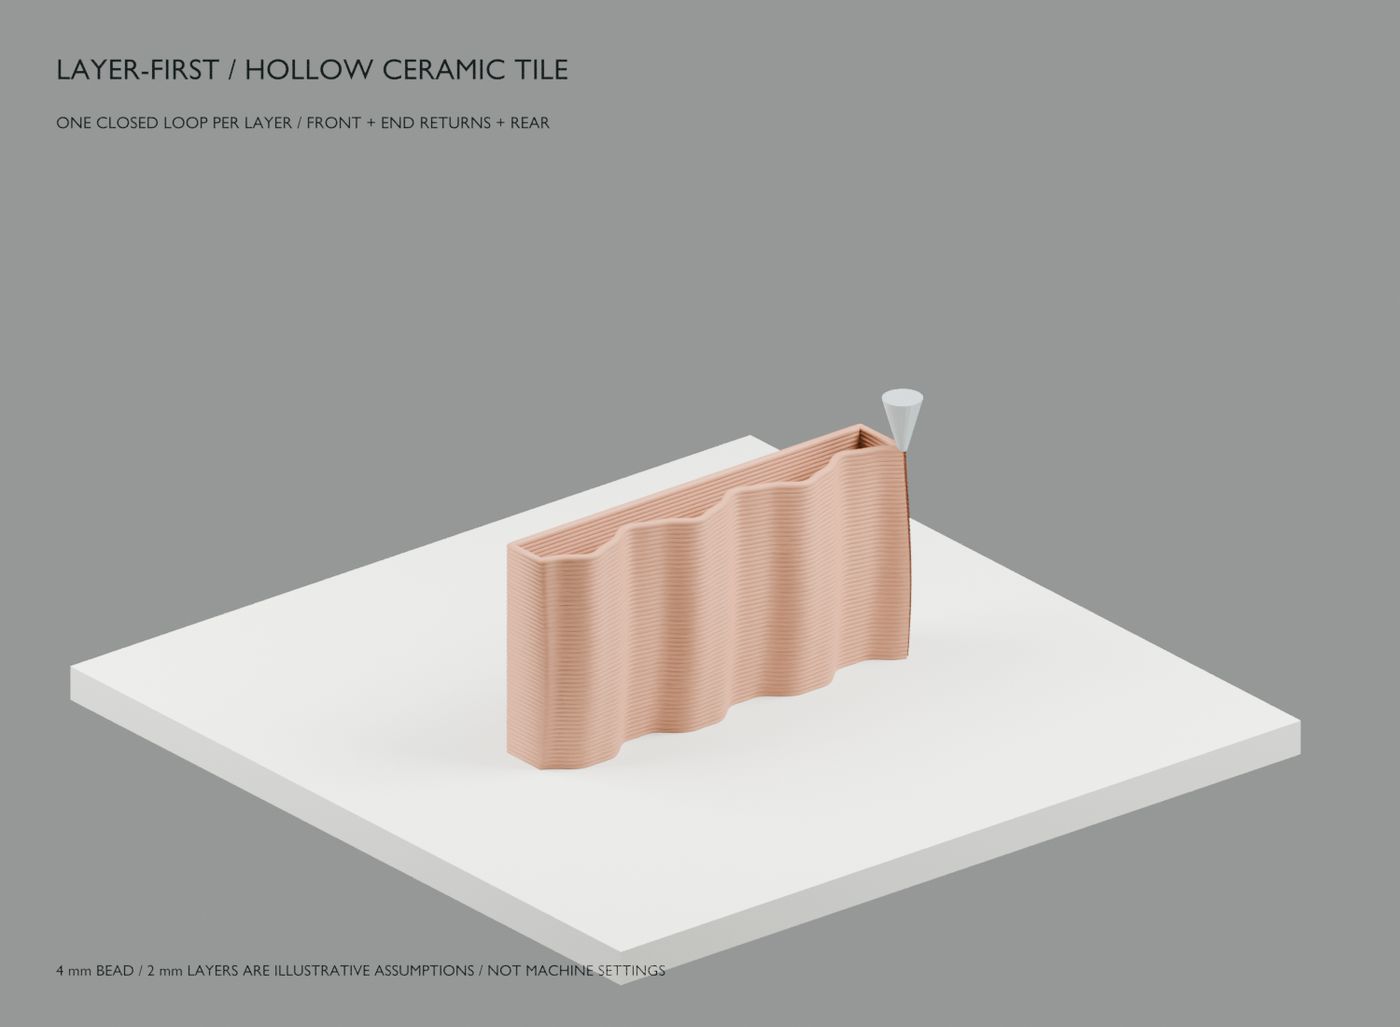
    The first sculptural model had not shown a believable layer-on-layer print. r02 starts from the process: every layer is one closed, unbranched loop around the wavy front, the ends and a straight rear, with an empty interior and nothing spanning the cavity. The 4 mm bead and 2 mm layers are illustrative assumptions, and mounting was left open because the old rib contacts did not transfer to a hollow form.

    A hollow wave-fronted tile half built from stacked clay-coloured layers on a print bed, with a representative nozzle at the corner
    Digital render · halfway through the layer stack
  4. A deeper sculptural tile

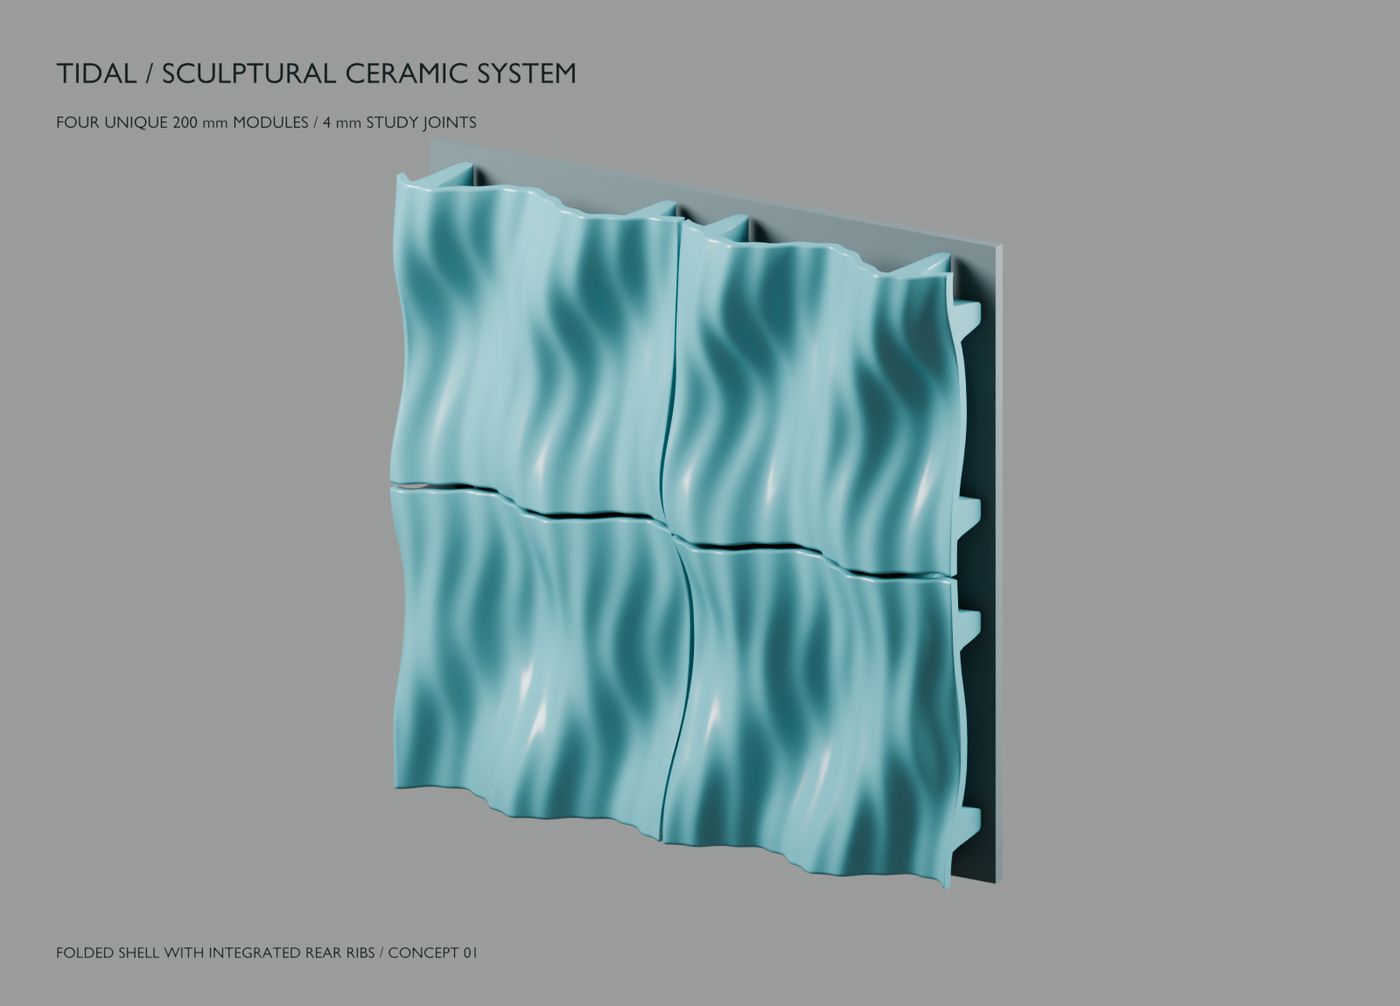
    The first sculptural concept explored four 200 mm modules with deep folds, open rear recesses and integrated rear ribs, hung on carriers and a wall rail. Printed upright, those horizontal rear ribs would print as unsupported overhangs. That correction is where the layer-first approach began.

    Four teal ceramic tiles with deep flowing folds forming a square panel, with rear ribs visible at the edge
    Digital render · four-tile sculptural field
  5. Files for a first trial

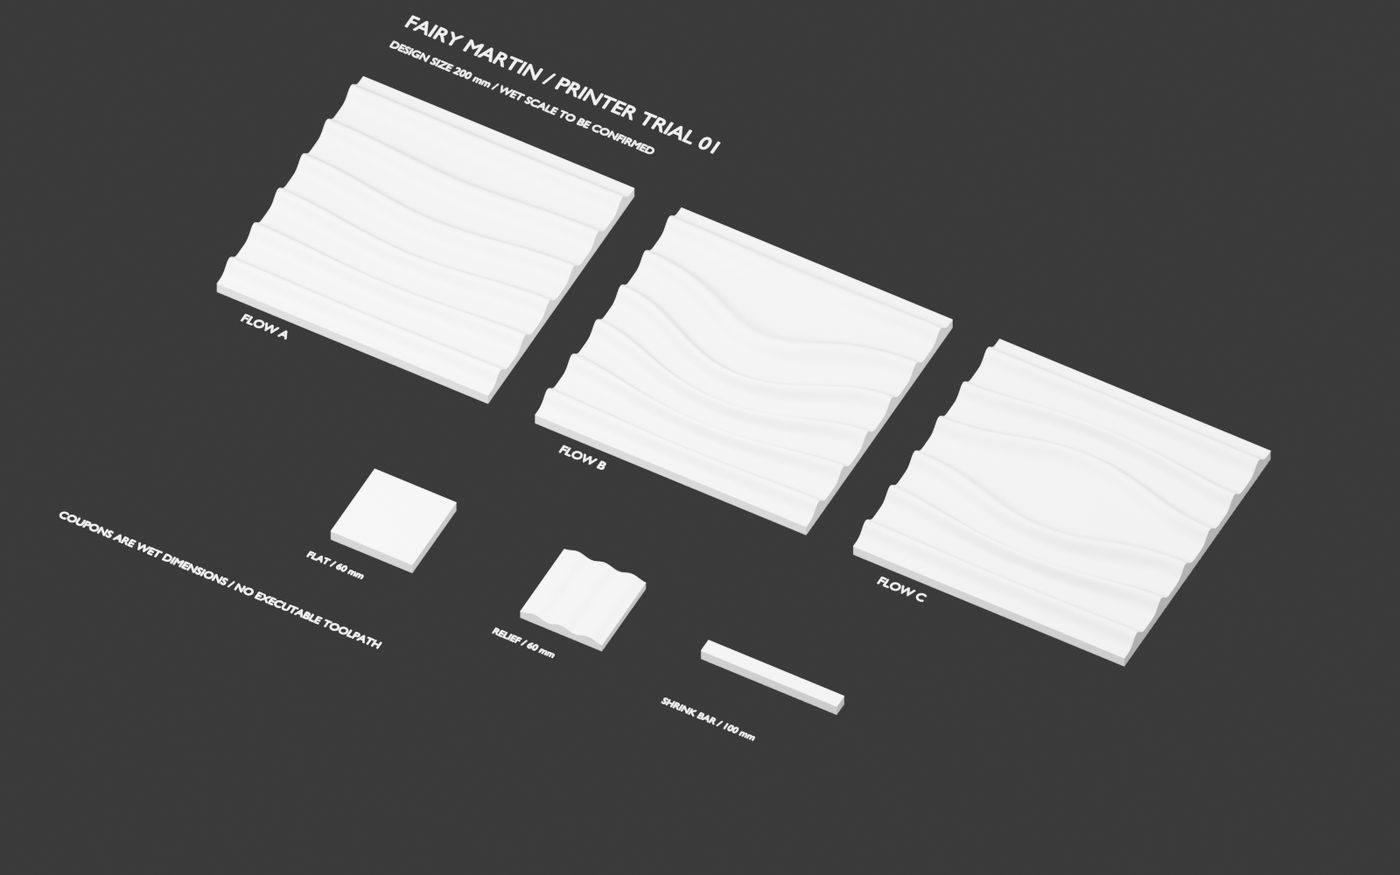
    We prepared a package for a proposed first clay printer trial: three 200 mm relief tiles and three small coupons for a flat base, a relief and shrinkage. The files carry no shrinkage compensation, and no trial was booked or machine ordered. Its central question still stands: can a printer repeatedly make this relief with an acceptable fired back and finish?

    Three white 200 mm relief tiles and three small test coupons laid out flat on a dark background
    Digital render · trial specimens

Print films

Real footage from the clay trials. Nothing here is rendered.

First physical print films will appear here as the clay trials run.

Digital first, clay next.

These notes describe nominal digital studies, not tested products. Fired fit, shrinkage, strength, fixings and anchors are not yet evaluated, and nothing here is an installation instruction. Fairy Martin is a studio in development in Brisbane; physical results will be added here as the trials run.